The Use Specification and Regeneration Process of Glove Box
For most of the small partners engaged in battery research, the glove box is indispensable, and the glove box is fragile and easily damaged. Whether it is puncturing the glove or losing control of the H2O and O2 content, the experiment cannot continue.
Therefore, it is necessary for us to learn about the use specifications of the glove box and know how to regenerate it.
Glove box use and operation process
1. Put the weighted pole piece and the prepared diaphragm into a vacuum drying oven for about 4 hours, at a temperature of 80 degrees Celsius;
2. Disassemble and assemble the syringe used for the test, and attach a piece of dust-free paper into the blast drying box to dry for about 2-4 hours;
3. Make an appointment for the experiment. The experiment can only be done with the permission of the person in charge. Please record the H2O & O2 content before and after the experiment;
4. Before the experiment, check whether the gas volume of the high-purity argon cylinder is sufficient, and check whether there are gaps in the inner cover of the min antichamber. Observe whether the H2O & O2 content is normal (different instruments may have different requirements for H2O & O2 content. The Etelux glove box used in our laboratory has H2O & O2 content below 0.05ppm);
Note: If you want to store metal lithium chips in the glove box, you must use high-purity argon (a mixture with 5% hydrogen is also possible). Nitrogen cannot be used. The lithium metal will react with nitrogen and turn black. New glove box debugging Later, because the box does not have the function of removing nitrogen and may be adjusted with high-purity nitrogen in the manufacturing plant, there will be residual nitrogen in the box. Put a small amount of lithium metal chips first to observe whether it turns black. If it turns black, high-purity argon is required. Purging for 5 minutes, cycling for 5 minutes, repeat several times, until the metal lithium in the box does not become black;
5. Open the outer door of the mini-antechamber compartment, and put in the dried pole piece, septum, syringe (the needle of the syringe should be covered with a cover, and the state is disassembled) and a piece of dust-free paper.
Note: deliver items from the outside to the glove box for drying treatment; if the delivered items are bottled solid (non-powder), please note that the bottle cannot be capped to prevent the cap from being pulled out during vacuuming, damaging the appliance, or even causing danger. If the imported items are bottled liquids or powders, the caps should be tightly closed (the bottle must be able to withstand pressure at least -0.01Mpa) to prevent damage to the bottles during vacuuming. The items are scattered in the transition chamber. ) At least three times before sending into the glove box
6. Cover the outer door, and slowly evacuate to -0.1MPa. The first vacuuming time is 5-10min. When there are more pole pieces, the vacuuming time should be extended;
At the end of the first vacuuming, slowly backfill the working gas until the pressure index is 0, and continue to vacuum---backfill the gas twice.
Assemble button batteries
1. Wear latex gloves to ensure that no nails are too long, and no sharp objects such as watches or jewelry. Turn the display to the side of the glove, and record the H2O & O2 content index for the first time;
Note: Do not move too fast when entering and exiting the gloves to prevent the circulatory system from automatically closing.
2. Put on gloves, click on the lightbox, turn on the operating light, and use the pedal to adjust the air pressure.
3. Confirm that there is working gas in the antn-achamber compartment, open the inner compartment door and take out the pole piece, diaphragm, syringe, and dust-free paper. Cover the inner hatch to ensure that the hand of the right glove is in the field of view to prevent the glove from being caught and damaged by the hatch. Always pay attention to the H2O & O2 content index;
4. Assemble the syringe and follow the negative electrode shell---shrapnel---gasket---(electrolyte)---lithium sheet---diaphragm---(electrolyte)---pole piece--- Gasket---Assemble button batteries from bottom to top in order of positive case. When assembling the syringe and drawing out the electrolyte, pay attention to adopt the correct method to prevent the needle of the syringe from accidentally piercing the gloves. The remaining electrolyte cannot be poured back into the bottle. When assembling the battery, it is used to drip 1 drop of electrolyte between the gasket and the lithium sheet to prevent the lithium sheet from slipping;
Note: The temperature of the heat treatment in the glove box should not exceed 60C.
5. Use a hydraulic manual sealing machine to compress the assembled button battery. The pressure is 50kg (reference). The standard is that the positive electrode shell wraps the plastic ring around the negative electrode shell;
For a more detailed lithium battery assembly tutorial, please refer to this article: Academic dry goods?Teach you how to prepare lithium-ion battery slurry and button battery assembly completed experiment
1. Use dust-free paper to wipe clean the electrolyte dripping on the box and gloves. First confirm that the mini antechamber compartment is working gas. Open the mini antechamber compartment and put the garbage with the installed batteries, syringes and dust-free paper. Put it in the chamber, cover the lid, make sure that the gloves are not caught, and confirm that there is no gap in the lid;
Note: Be sure to wipe off the electrolyte on the gloves and the sealing machine, and before opening the inner cover of the antechamber, you must make sure that the atmosphere in the antechamber has been processed. If the atmosphere has not been evacuated and cleaned, it is not allowed to open the inner cover
2. Take off the gloves, open the outer door of the mini antechamber, take out all the items, and cover the door. For safety reasons, after closing the hatch, vacuumize once to -0.1MPa, and backfill the working gas until the air pressure index is 0.
3. Turn the display to the normal position and record the H2O and O2 content index at the end of the experiment. And write down the experiment content, operator, date and time;
Apply a proper amount of talcum powder on the gloves for the next use, notify the person in charge to check that there is no error and turn off the working lamp, the operation is over
Glove box regeneration process
When the H2O and O2 content of the glove box continues to be high (decreasing too slowly), regeneration may be needed.
The regeneration process of different glove boxes may be different, we take Etelux glove box as an example to introduce
1. Turn off the H2O and O2 probe;
2. Turn off the loop;
3. Ensure enough working gas (at least half a bottle);
4. Turn on regeneration, and a window "Whether to regenerate" appears;
5. A window of "Check if the mixture is ok" appears. At this time, turn on the mixture (Nitrogen 95%, hydrogen 5%), and adjust the pressure of the auxiliary gauge to 03-0.04MPa until gas is discharged from the exhaust pipe (if no gas is discharged) The pressure can be increased until gas is discharged and then back to 0.03-0.04MPa;
6. Regeneration starts at this time, and the time will last for 16 hours.
 Alloy Suppliers
 Aluminum
 Aluminum Extrusions
 Copper-Brass-Bronze
 Nickel
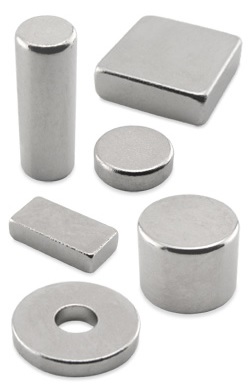 Magnets
 Stainless Steel
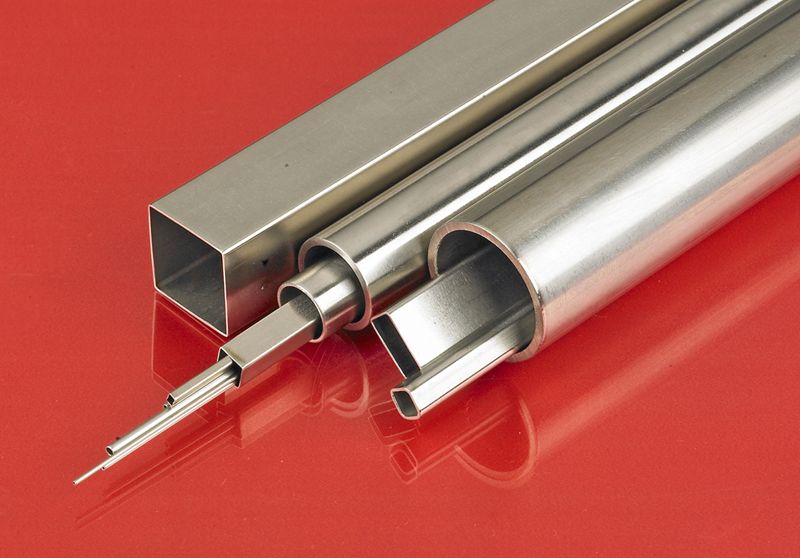 Stainless Steel Tubing
 Steel Service Centers
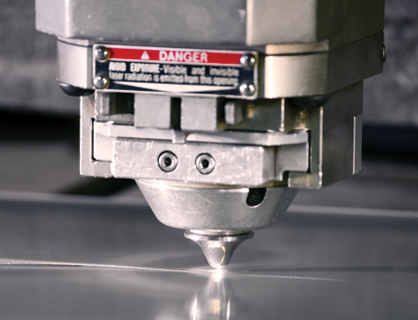 Titanium
 Tungsten
 Wire Rope